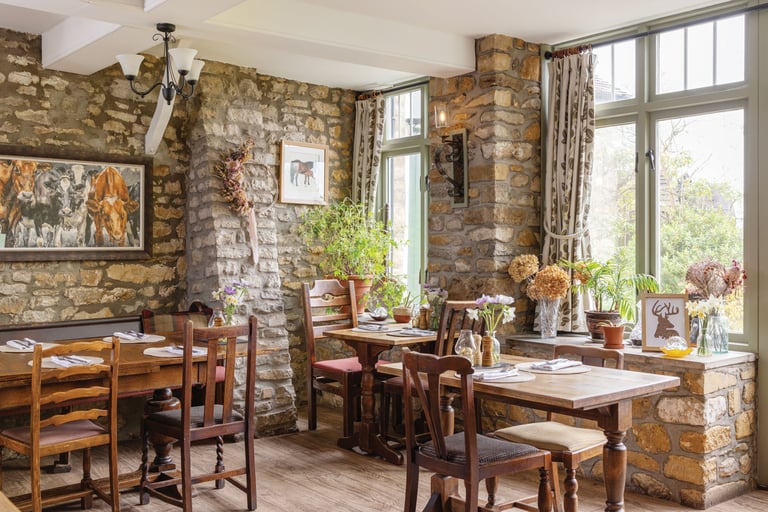
The quality of the butter in restaurants is one way of sorting the men from the boys. However it’s surprisingly easy to make at home, reveals South West author and smallholder Simon Dawson
The first time you come across homemade butter there’s a very definite ‘wow’ moment. But let’s be honest, no matter how amazing it is, your next thought is likely to be: ‘It must be incredibly complicated to make: time consuming, messy, fiddly, totally impractical,’ because the human brain loves a bit of negativity. However, making butter at home is simple, clean and perfectly practical. More than that, it’s fun.
To make approximately 300g of butter and 180ml of buttermilk you’ll need:
- Double cream at room temperature 500ml
- Salt (optional)
Equipment
- Food mixer with paddle
- Tea towel
- Wooden board
- Scotch hands (butter paddles) or two wooden spoons
1. Churn
Tip the double cream into the mixing bowl and set the machine going. At this stage, forget churning and think of it as whipping cream. Whip it until you’d be more than happy to dollop it on top of a bowl of strawberries, and then keep going. Overwhip it. It will start to go grainy.
Grab your tea towel and be ready with it.
The next stage on from grainy is a consistency resembling scrambled eggs. At this point, if you have a build-up of cream stuck to the sides of the bowl, stop the machine and use a spatula to push the cream down into the mixture. Then set the machine going once more.
Now this is really important: place the tea towel over the machine so it covers any gaps. It’s going to splash, and both you and your entire kitchen will get drenched in buttermilk.
2. Separate
Listen to the machine. You’ll hear it mixing, mixing, mixing, then suddenly you’ll hear thwack, thwack, thwack. That thwack sound is the moment when the cream splits into butter and buttermilk.
Stop the machine! Turn it off. You’re done. Woohoo! You’ve made butter. With something of a flourish, remove the tea towel.
The buttermilk has a watery consistency while the butter is, well, butter.
Nothing is wasted, so before you get too excited about the butter, pour the buttermilk into a bowl, cover it with some clingfilm and pop it in the fridge to use when making American pancakes. Now the fun really begins.
3. Wash
Run your clean hands under cold water for a moment to cool them down and then pull the butter off the attachment.
Scrunch the butter into a ball. As you do, you will see a white liquid popping out, almost as though it’s sweating, and the more you press it, the more it comes out.
That’s excess buttermilk and you want to remove all of that because it’s this moisture that’ll make the butter go bad quickly.
The trick is to wash it. Literally wash it.
Take your butter and plunge it in cold water or place it under a slowly running cold tap and move it about. Being gentle all the while, squidge the butter, wring it, push and pull it until no more filmy buttermilk comes out and the water runs clear.
4. Pat
Place a wooden board on a work surface and wet it. Then place the butter on it. If you have Scotch hands or butter paddles, great. If not, get a couple of wooden spoons. Run them under the tap until they are thoroughly wet.
Then slap, slap, slap the butter.
Little tiny volcanoes of buttermilk will spray out. If your paddles/wooden spoons dry out, put them back under the tap and keep patting until nothing more comes out.
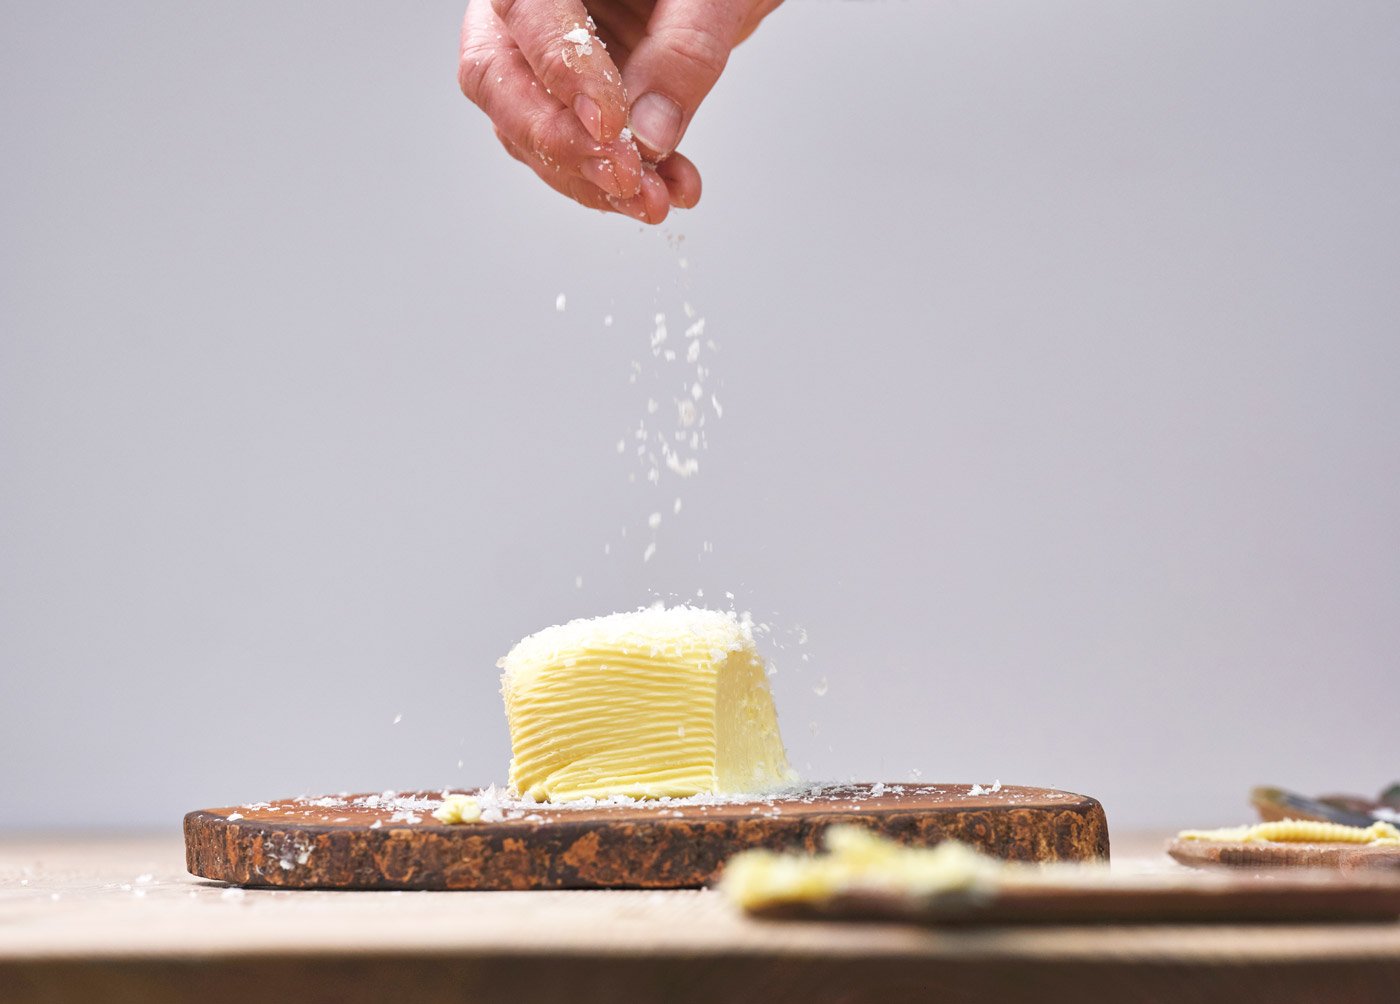
5. Salt
Salting is optional, but if you want to add salt to the butter, now is the time. If you have a packet of generic table salt, open your bin and chuck it away – have you no shame? Sea or rock salt only, darling: flaked, ground or fine.
Start with half a teaspoon for each 250g of butter. Evenly sprinkle the salt on top of the butter and cut it in. Cut and pat, turn the butter a quarter of a turn, cut and pat. Repeat until the salt is evenly distributed. Taste it and adjust as necessary.
6. Shape
Classic oblong
Using the damp butter paddles/wooden spoons, tap and shape the butter into an oblong block, wrap it in greaseproof paper and place in the fridge to chill.
Butter balls
These are fun and very 1980s (although shaped balls of butter do seem to be coming back into fashion). Chill the butter in the fridge and then, dipping a melon baller in a mug of hot water, push and twist it into your butter to make butter balls. Arrange them in a bowl, cover and store them in the fridge until needed.